How does it work?
3D Model
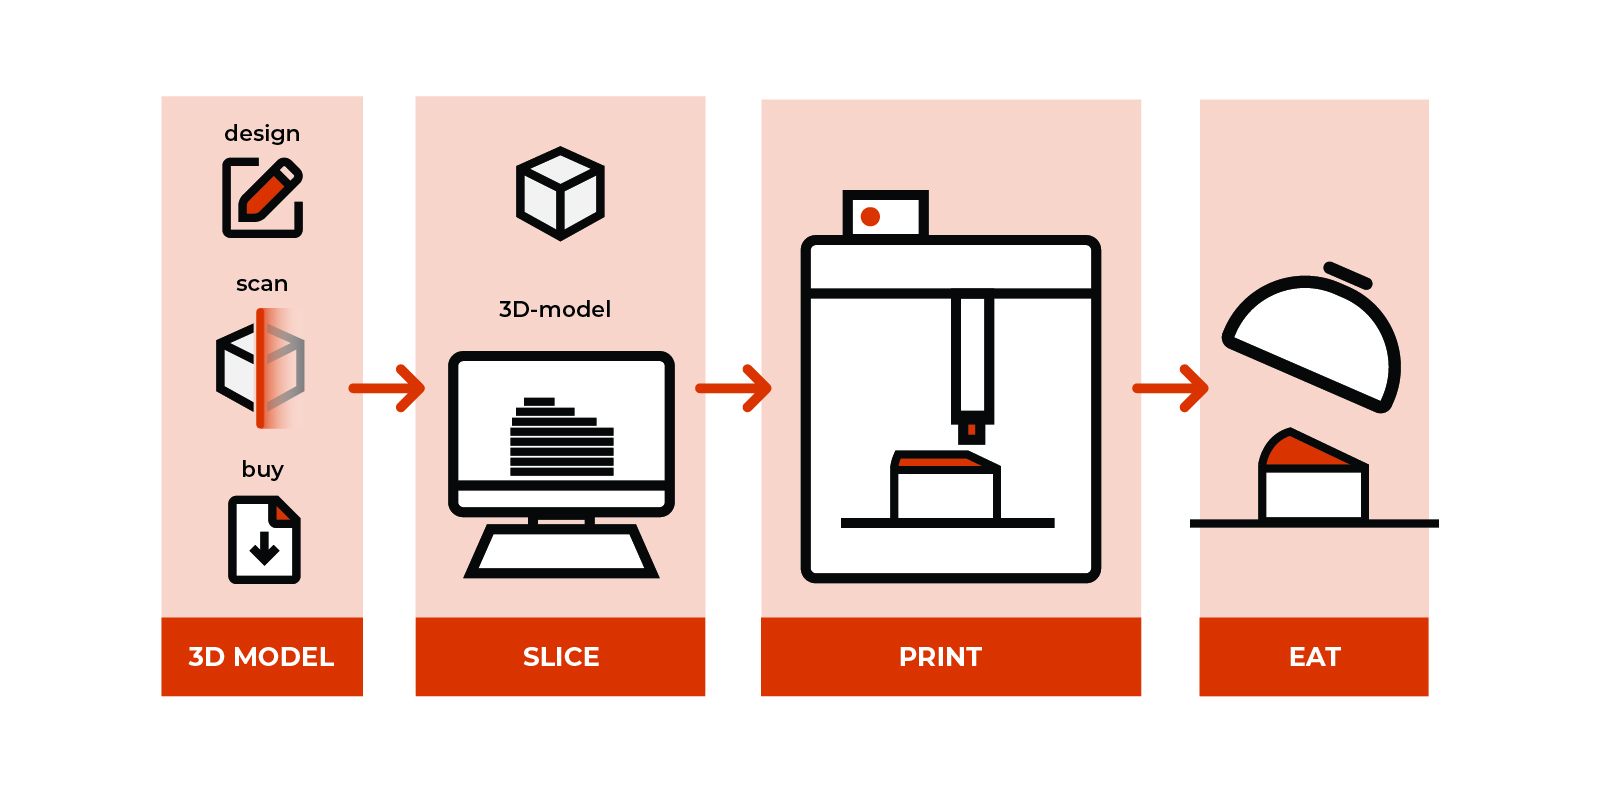
To 3D print something, the start is to have a 3D model of the object
that you want to print. This can be obtained from the following sources. The most used format for
these objects is called an STL file.
Design your own in a design program
It is very beneficial to make use of 3d design skills to create or modify your own unique object.
Various CAD programs are available for this purpose.
Some payed examples are for instance:
Solidworks or Fusion 360.
There are also free software options on the market, such as: Fusion 360 (free for non-commercial use), ThinkerCAD, Sketchup and Onshape Free
Scan an object
One can scan a 3D object and replicate this with the Food 3D printer.
Download an STL fileBesides designing your own object, an alternative is to buy or freely download an STL file from an online library.
Various online libraries exist, such as thingiverse.com, 3dnatives.com or myminifactory.com
3D Model
Every 3D print starts with a digital 3D model. Whether you are a beginner or an experienced designer, there are several ways to create or obtain a model for food printing.
Design your own model
Create unique designs using your favorite CAD or 3D modeling software. Whether you are designing personalized meals, company logos, artistic decorations, or research geometries, the possibilities are virtually endless.
Choose from over 200 included models
Get started immediately with a library of over 200 ready to print 3D models included with the printer. Simply select a design and start printing. No design experience is required.
Download models online
Access thousands of free and commercial 3D models from online repositories. Download an existing design and customize it to suit your application if needed.
Generate models with AI
Simply describe your idea in a text prompt and let AI generate a printable 3D model. Modern AI powered design tools make it easier than ever to transform ideas into unique food creations.
Scan real world objects
Convert physical objects into digital 3D models using a 3D scanner or a smartphone. Many modern smartphones, including recent iPhones equipped with LiDAR, can accurately capture 3D geometry for editing and printing.
Simplify3D
We supply Simplify3D with our printers, which is currently the best software available.
Simplify 3D is a user-friendly platform with great features to create your objects on.
Slice & Print
Once you have created or obtained a 3D model, the next step is to prepare it for printing.
Import the model
Import your 3D model into the slicing software.
Configure the print settings
Select the appropriate printer type, syringe type, nozzle size, and ingredient preset. The slicing software uses these settings to optimize the print for your specific printer and application.
Slice the model
The slicing software slices your 3D model into layers according to the selected layer height and converts it into a G-code file ready for printing.
Prepare the printer
Fill the syringe with your desired ingredient or recipe and remove any trapped air to ensure a smooth and consistent material flow. Install the syringe in the printer and make sure both the printer and nozzle are clean and ready for use.
Start printing
Upload the generated G-code file to the printer via USB or wirelessly, then press Start. The printer follows the programmed toolpath and precisely deposits the ingredient layer by layer until your design is complete.
Serve
Depending on the ingredient or recipe, your print may require baking, freezing, or time to set before it can be safely removed from the silicone baking mat. Once hardened, simply remove your creation and serve.
Use/eat
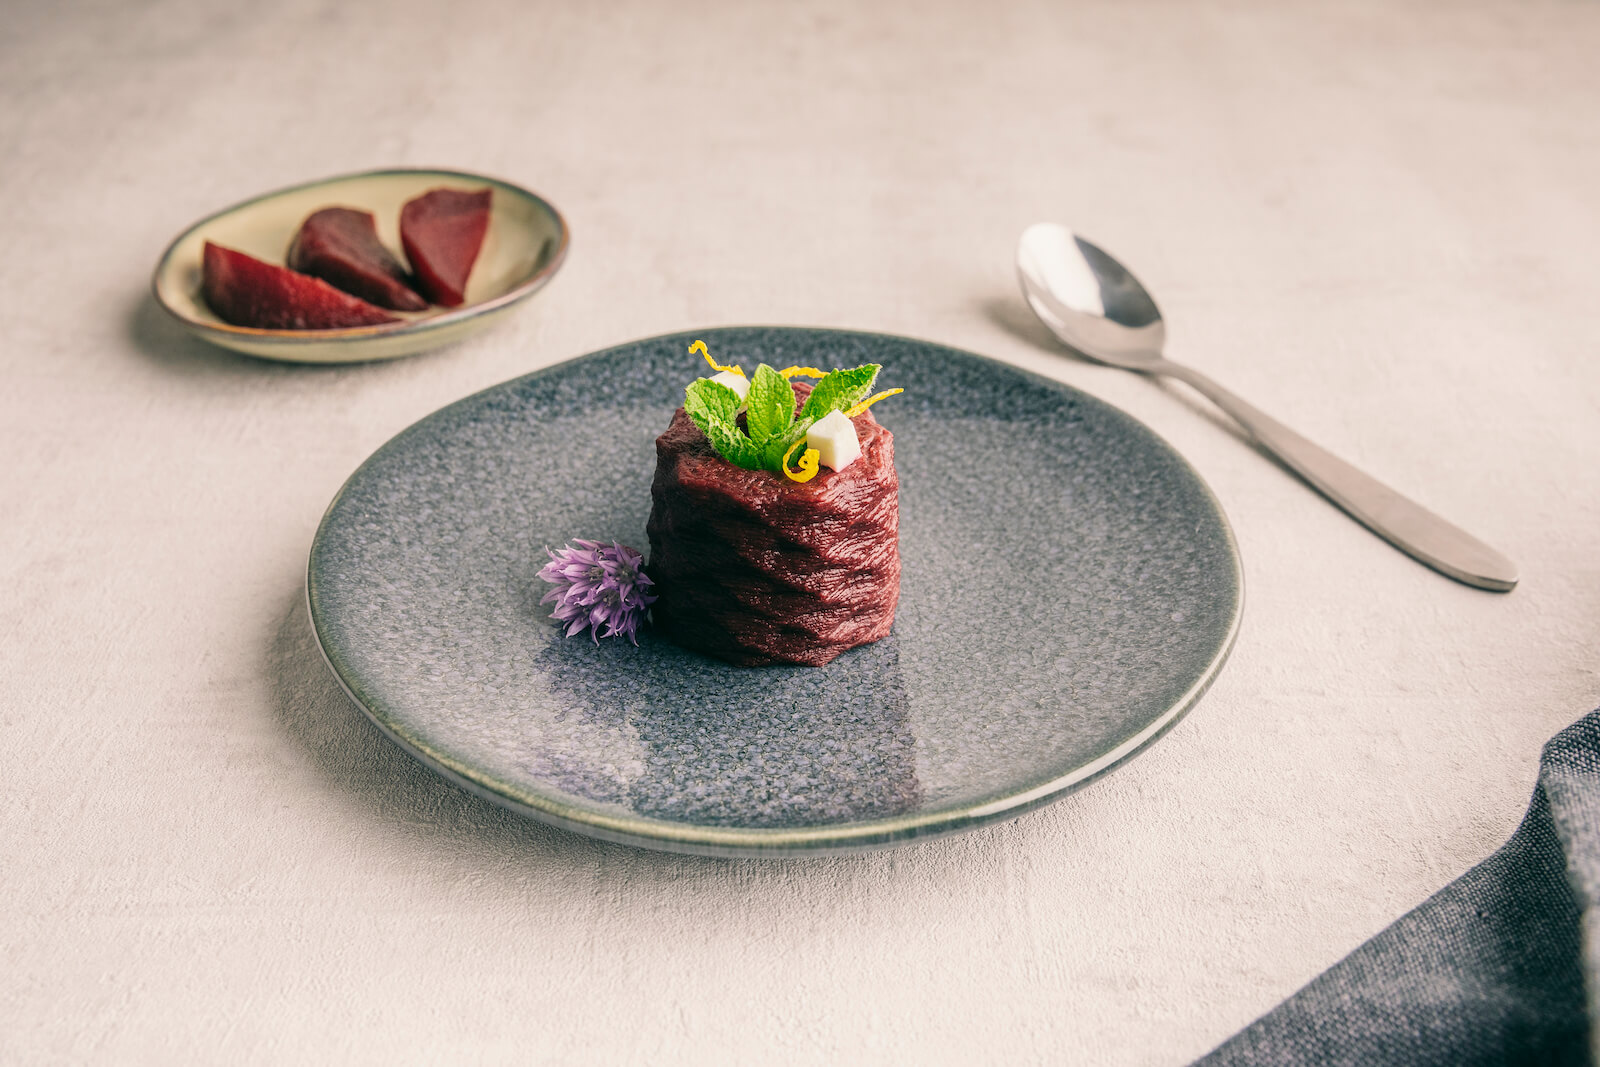
When your marvellous creation is done printing, you can remove it from the printer.
Your 3D printed food is now either ready to be enjoyed directly, or can be post-processed.
Post-processing could be baking, cooking, heating or cooling.
Remember to thorougly clean your machine so it's ready for the next print!